A Guide to Integrating AI in Articulate Storyline Courses
This guide provides the full instructions for integrating a live, client-side AI model into your Storyline project. By running the AI directly in the learner's browser, you can create powerful, interactive experiences with no server costs and enhanced user privacy.


Introduction: Your First AI Project in Storyline
Integrating Artificial Intelligence into a tool like Storyline can seem complex, but the technology has advanced to a point where it's surprisingly accessible. This tutorial will walk you through the core workflow by building a practical sentiment analysis tool.
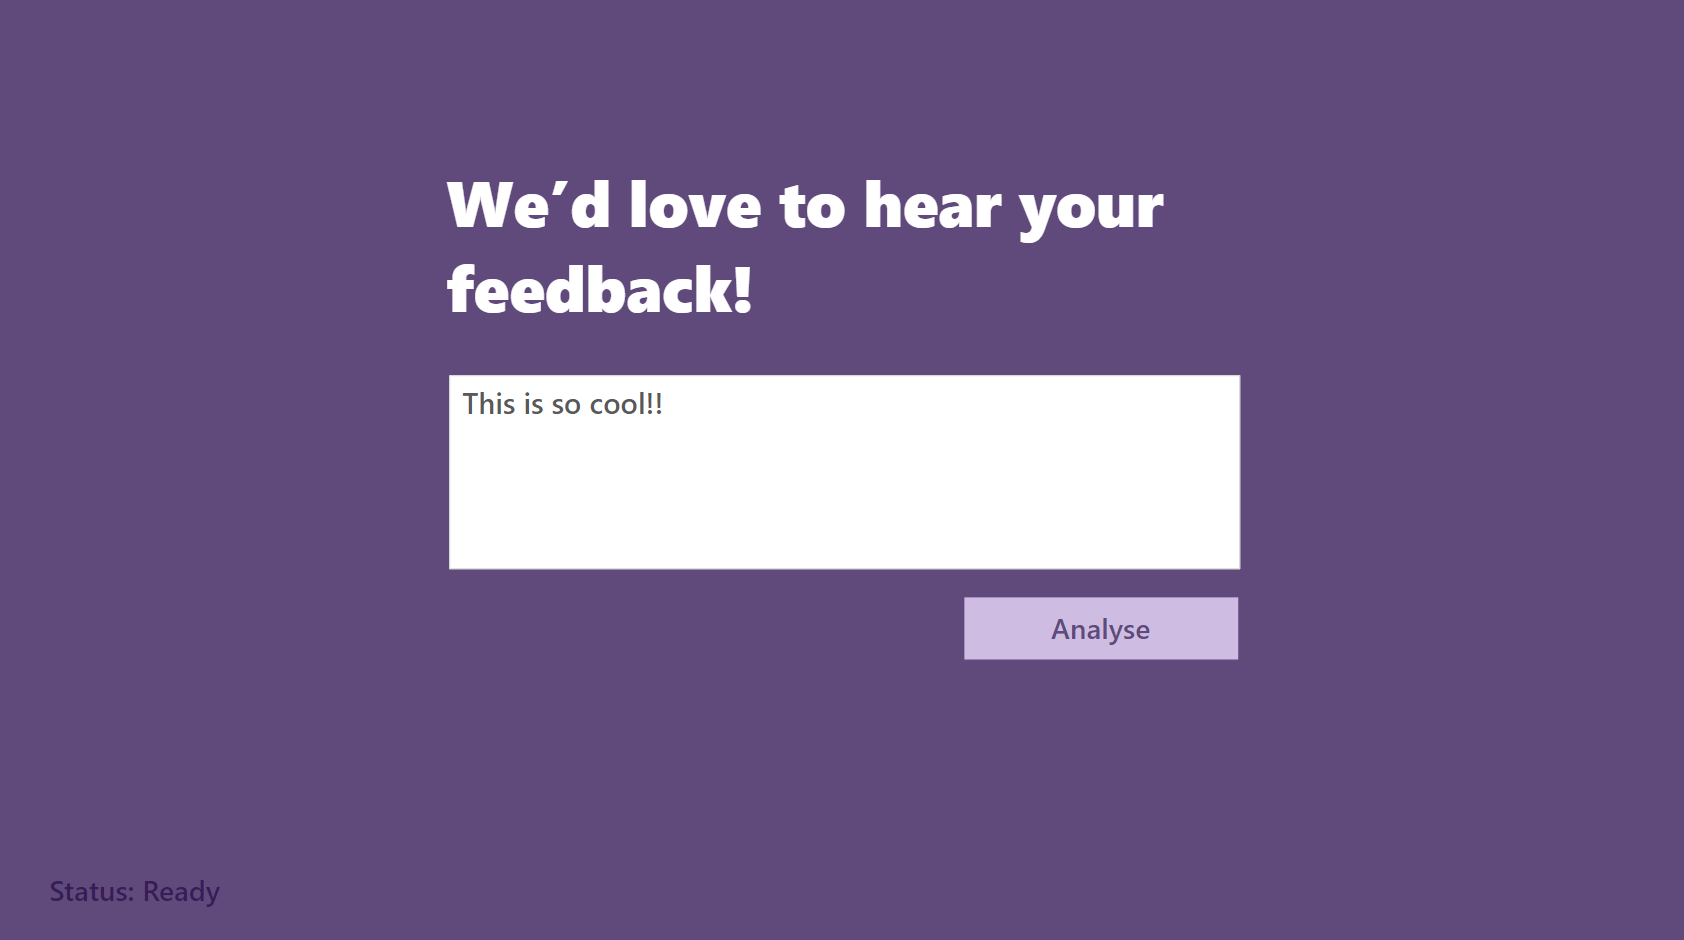

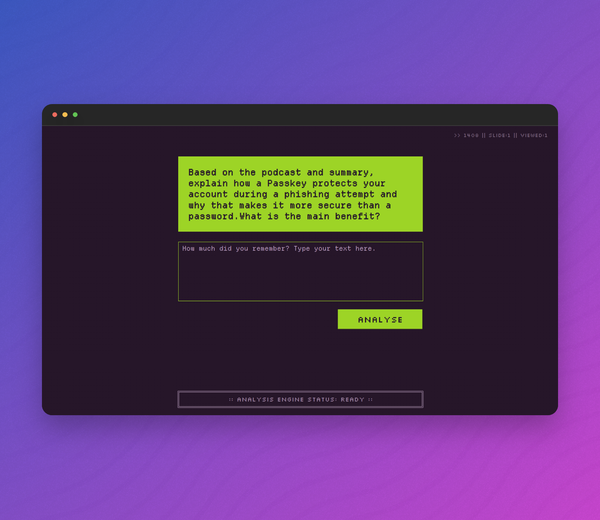
Try the demo!
We are starting with sentiment analysis because it's the perfect first project to master the fundamental development pattern:
- It's a classic AI task: It's a core concept in Natural Language Processing (NLP), a branch of AI focused on understanding human language.
- It has a clear input and output: You provide text (the input), and the model returns a simple, understandable classification like "POSITIVE" or "NEGATIVE" (the output).
- It demonstrates the core workflow: The steps you'll follow here; loading an external library, managing asynchronous operations (like downloads), passing variables between JavaScript and Storyline, and displaying results, are the fundamental building blocks you would use for any other AI integration.
By successfully implementing this project, you will gain the foundational skills needed to explore other AI capabilities, such as text generation, translation, or semantic similarity, within your e-learning projects.
1. Storyline Project Setup ⚙️
First, set up the necessary elements on your slide.
- Create Storyline Variables: Go to the "Variables" panel and create four Text variables:
textInput(to hold the learner's text)analysisStatus(to show the current status, e.g., "Downloading...")sentimentLabel(to hold the final result, e.g., "POSITIVE")sentimentScore(to hold the final confidence score, e.g., "0.998")- Add a Text Entry Field: Insert a Text Entry field onto your slide and link it to the
textInputvariable you just created. - Add a Button: Insert a button and label it "Analyze Text".
- Display the Results: Insert text boxes onto your slide to show the output. Use variable references inside them:
- A status box should contain:
Status: %analysisStatus% - A result box should contain:
Result: %sentimentLabel% (%sentimentScore%)
Your slide should now have an input field, a button, and text boxes to display the status and results.
2. The "Loader" Trigger (Background Loading) ⏳
This trigger starts downloading the AI library in the background as soon as the slide loads, ensuring a smooth user experience.
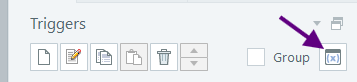
- Select the slide itself.
- Create a new trigger with the following settings:
- Action: Execute JavaScript
- When: Timeline starts
- Object: This slide
Click the `JavaScript' label to open the script window and paste the following code:

// This script starts downloading the library and stores the promise.
const player = GetPlayer();

// This function handles setting the status when the library is ready.
const setReady = () => player.SetVar("analysisStatus", "Ready");

// This check prevents the import from running more than once per session.
if (!window.transformersPromise) {
  // If this is the first time, set initial status and start the import.
  player.SetVar("analysisStatus", "Initializing...");
  // Pin to a specific version for maximum stability.
  window.transformersPromise = import("https://cdn.jsdelivr.net/npm/@huggingface/[email protected]");

  // Attach a handler that will update the status when the download completes.
  window.transformersPromise.then(setReady).catch(err => {
    console.error("Library load failed:", err);
    player.SetVar("analysisStatus", "Error: Could not load library.");
  });
} else {
  // If the promise already exists, the library is loaded or loading.
  // The .then() will execute immediately if the promise is already resolved.
  window.transformersPromise.then(setReady);
}
3. The "Analyzer" Trigger (Button Click) 🚀
This trigger runs when the learner clicks the "Analyze Text" button. It waits for the library to finish loading (if it hasn't already) and then performs the analysis.
- Select the "Analyze Text" button you created.
- Create a new trigger with the following settings:
- Action: Execute JavaScript
- When: User clicks
- Object: The "Analyze Text" button
Click the 'JavaScript' label and paste the following comprehensive code:
// This script runs when the "Analyze" button is clicked.

const player = GetPlayer();

// First, check if the loading process was initiated by the first trigger.
if (!window.transformersPromise) {
  alert("Error: Analysis library did not start loading. Please check the slide's timeline trigger.");
  return;
}

// Main analysis function, wrapped in an async block
(async () => {
  const textToAnalyze = player.GetVar("textInput");
  if (!textToAnalyze) {
    alert("Please enter some text to analyze.");
    return;
  }

  try {
    // Use the dedicated status variable for feedback.
    player.SetVar("analysisStatus", "Preparing engine...");
    player.SetVar("sentimentLabel", ""); // Clear previous results
    player.SetVar("sentimentScore", ""); // Clear previous results

    // 1. Wait for the download (started by the first trigger) to complete.
    const { pipeline } = await window.transformersPromise;

    // 2. Lazily load and cache the classifier model on the window object.
    if (!window.sentimentClassifier) {
      player.SetVar("analysisStatus", "Downloading model...");
      window.sentimentClassifier = await pipeline('sentiment-analysis', 'Xenova/distilbert-base-uncased-finetuned-sst-2-english');
    }

    player.SetVar("analysisStatus", "Analyzing...");

    // 3. Run the analysis on the text from the Storyline variable.
    const output = await window.sentimentClassifier(textToAnalyze);
    const result = output[0];

    // 4. Set the final results and clear the status at the very end.
    player.SetVar("analysisStatus", "Complete!");
    player.SetVar("sentimentLabel", result.label);
    player.SetVar("sentimentScore", result.score.toFixed(3));

  } catch (err) {
    // If anything goes wrong, log it and show a user-friendly error.
    console.error("Analysis Failed:", err);
    player.SetVar("analysisStatus", "Error: Please try again later.");
  }
})();
4. How It Works ✅
When the learner reaches the slide, the first trigger silently begins downloading the AI library. While they are reading the content and typing their response, this download usually completes. When they click the "Analyze Text" button, the second trigger runs, waits for the library and model (if needed), performs the analysis, and displays the result almost instantly. This provides a seamless experience.
Helpful Resources

Download the Storyline file