How to Install CATAPULT CTS for CMI5 AU Testing
Unlock the power of modern e-learning with CATAPULT CTS! This guide walks you through installing CATAPULT CTS for CMI5 AU testing on Ubuntu using Docker. Perfect for those ready to go beyond traditional authoring tools and harness the full potential of web technologies like React and Phaser.js.

Prerequisites
You'll need to be comfortable navigating in the terminal, using SSH and working with Docker for this tutorial.
If you're looking to create your own e-learning courses using the latest web technologies, you'll need to bravely enter a world without authoring tools. Building web-based games or courses with tools like React or Phaser.js can unlock tremendous potential, but to do so, you need to know how to publish your content in a way that a Learning Management System (LMS) can understand. CMI5 is the latest standard for this, but it’s not for the faint-hearted. The official documentation is heavy on theory with few practical guides. That’s why I wrote this guide; to save you time and help you navigate the challenges I faced when learning how to work with the CATAPULT CTS, which will help you test CMI5 content (Or Assignable Units).
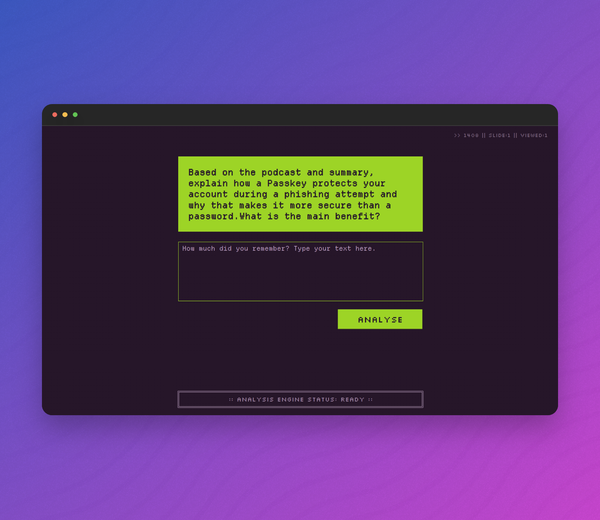
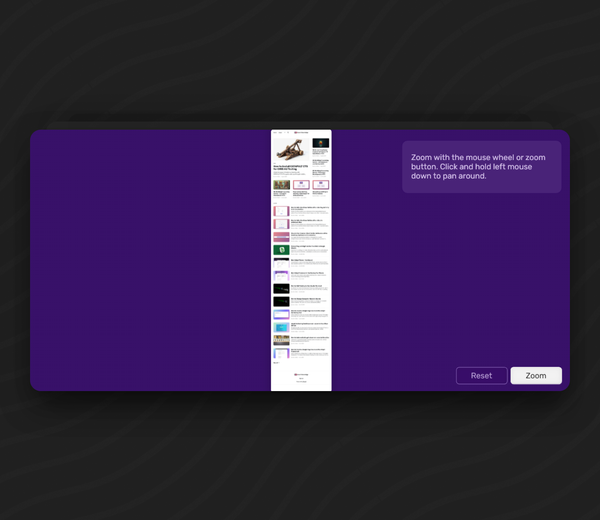
Demo
What you'll need
- Ubuntu Server (Optional but this is how we're going to install it in this guide)
- Docker Compose
- CATAPULT from the GIT Repository
- VS Code & the Remote Development Extension
Setting up a Server
I set up a Ubuntu server on a virtual machine because this gives me an isolated environment which I can take snapshots of and backup easily.
Setting up a Ubuntu Server
To set up a Ubuntu Server, you have a couple of options. You can use a cloud provider suchas DigitalOcean or Linode, where you’ll pay almost nothing to tinker for an hour or around $6 a month for a low-spec server if you decide to keep it online.
For this tutorial, I installed the Ubuntu Live 22.04 LTS Server on Hyper-V, but you could also use VirtualBox or similar software. I won’t dive into those details here, there are plenty of good tutorials online for that step. The real challenge lies in getting CATAPULT itself up and running, which is what I’ll focus on.
Installing Docker Compose
When you install Ubuntu Live Server you'll be given the option to choose additional packages, the easiest way to Install docker is to select Docker at this point. You can alternatively follow the guides on the Docker Page here depending on how which environment you choose, Windows, Linux etc.
Again, there are plenty of Tutorials for this around so I'll keep this bit light on the detail. Once you have Docker and Docker Compose setup. You're ready to tackle the CATAPULT installation.
Installing CATAPULT CTA
Now we're on to the fun part. In your fresh new server, or on Windows if that's what you picked. Choose somewhere to download the CATAPULT repository. For me it was just in the home directory of my Ubuntu user.
git clone https://github.com/adlnet/CATAPULT.git
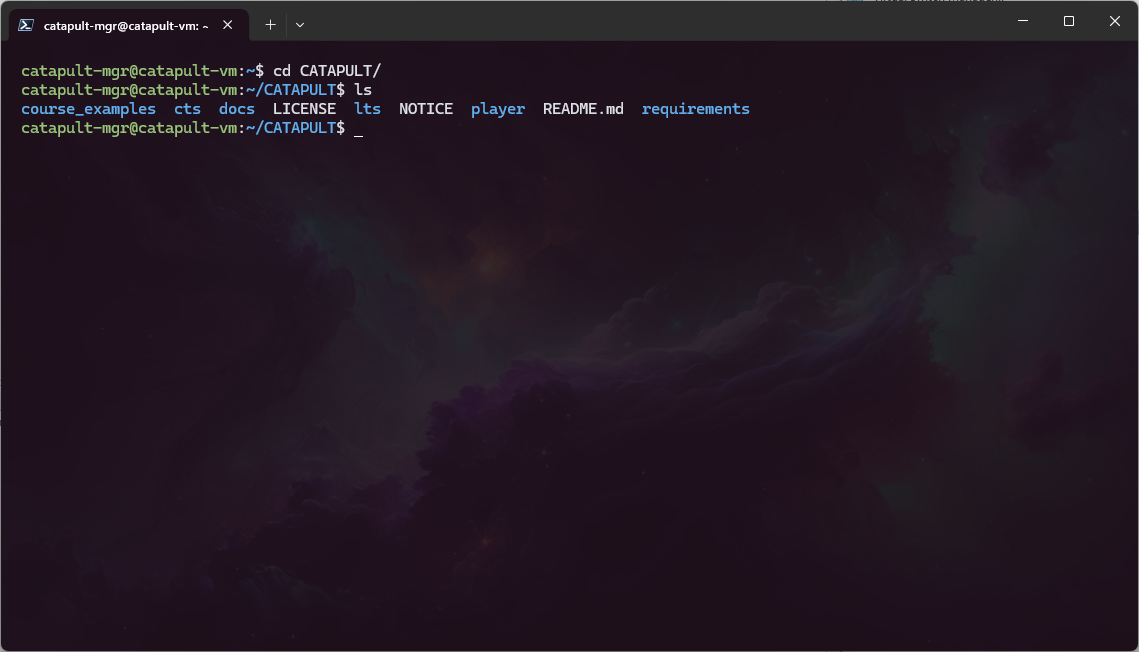
Change into the newly created directory called CATAPULT.
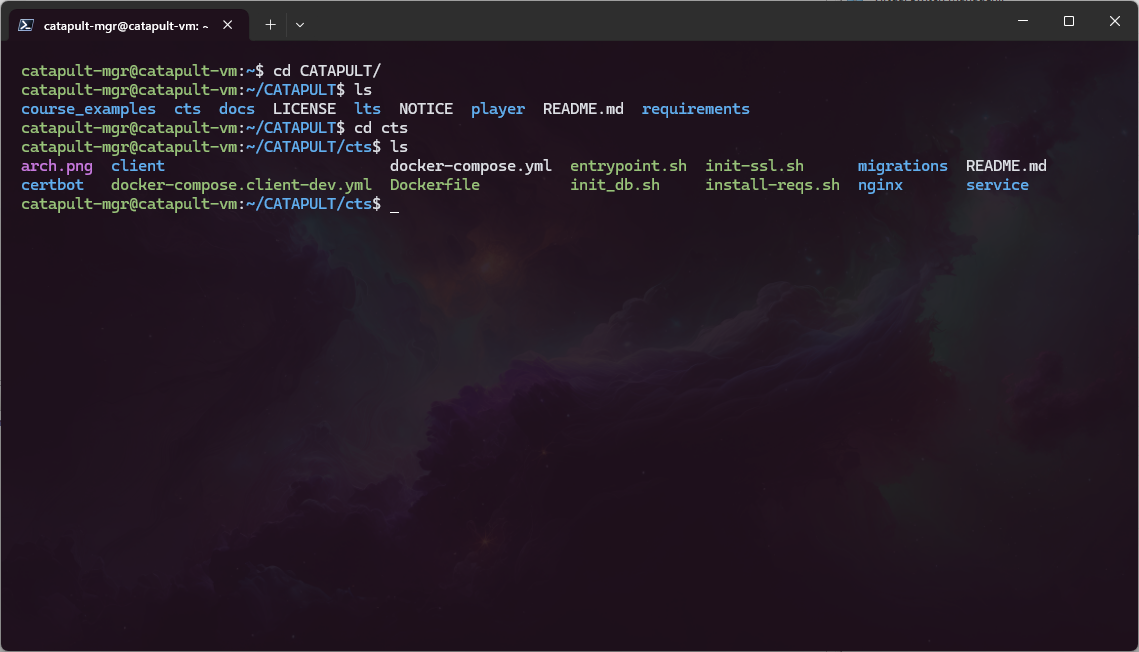
cd CATAPULT/
List the items in the directory so you can see what you're working with, this should be the same as the CATAPULT GIT repository.
ls
Change into the CTS folder, we'll be installing the CTS (Content Test Suite) in this tutorial.
cd cts
Creating the .env
This is the first part where I found myself getting stuck due to a lack of practical documentation. Hopefully I can save you some of the pain I experienced by walking you through it in a little more detail.
Create a new .env file with the following in it. You can do this with Vim, Neovim, Nano or good old fashioned Notepad.exe.
Inside the .env file add the following.
HOSTNAME=localhost

PLAYER_ROOT_PATH=/player
PLAYER_BASE_URL=http://player:3398/player
PLAYER_CONTENT_URL=http://localhost:3398/player/content
# PLAYER_STANDALONE_LAUNCH_URL_BASE=http://localhost/player
PLAYER_KEY=cts
PLAYER_SECRET=player-secret
PLAYER_TOKEN_SECRET=player-token-secret

CTS_SESSION_COOKIE_PASSWORD=replace_with_very-long-string_with-Mu1tip13-Specia!s

LRS_ENDPOINT=http://host.docker.internal:8081/20.1.x/lrs/default/
LRS_USERNAME=dev-tools-xapi
LRS_PASSWORD=dev-tools-xapi-password
LRS_XAPI_VERSION=1.0.3

## Dev Only, set to 0 to allow self-signed certs
NODE_TLS_REJECT_UNAUTHORIZED=1
When you're ready, save and close the file. Then run the following in the terminal.
sudo docker-compose up --build
sudo docker compose up --build -dThis will start to build and install all of the dependencies. You will likely see errors here, but I'll walk you through resolving each one I encountered now. Press CTRL+C to end the current process.
SSL CertBot Error
docker_certbot  | Certbot doesn't know how to automatically configure the web server on this system. However, it can still get a certificate for you. Please run "certbot certonly" to do so. You'll need to manually configure your web server to use the resulting certificate.
docker_certbot exited with code 1
SSL just never plays nicely does it? This error is the first one we'll need to handle. I think the issue here could be that we're running this on a local server in this case and not a publicly accessible one. Or it's just old. To work around it we'll generate the Certificates manually for the localhost and then modify the NGINX config so it knows where to find the new ones.
Manually generate SSL
Inside the cts directory, run the following command in the terminal to execute the included init-ssl.sh script.
.\init_ssl.sh localhost
Configure NGINX with new certificates
Head to the NGINX folder, we need to update the conf so that NGINX knows where to find the keys.
cd ~/CATAPULT/cts/nginx
Now edit the default.conf file with the following. Change:
From
ssl_certificate     /usr/share/keys/live/$HOSTNAME/fullchain.pem;
ssl_certificate_key /usr/share/keys/live/$HOSTNAME/privkey.pem;
To
ssl_certificate     /usr/share/keys/live/localhost/fullchain.pem;
ssl_certificate_key /usr/share/keys/live/localhost/privkey.pem;
This should resolve the SSL error, you can now run the build command again to test this worked.
docker compose up --build
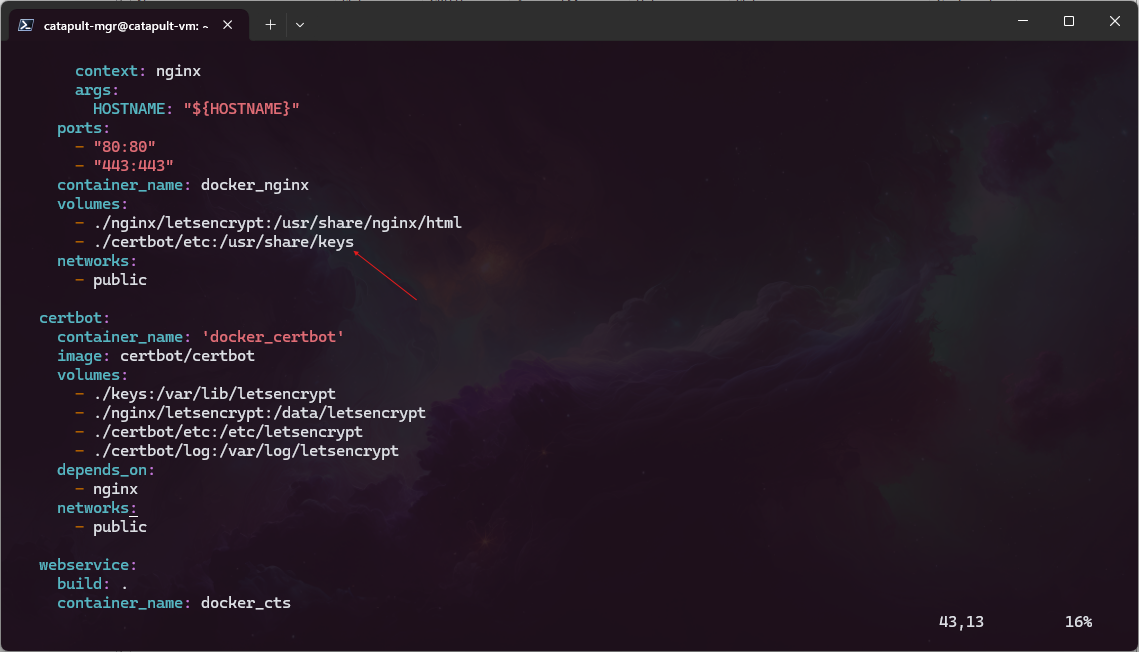
If you run into issues where the SSL still cannot be found, check that the docker-compose.yml has the correct volumes mapped. This should map to the Certbot etc directory.
Connecting to CATAPULT
If you installed on your local computer, and skipped the server step, you should now be able to access Catapult at the location we specified in the .env file. Provided the build command is still running. In this case it's http://localhost:3399.
If you're installing on your local computer skip to Fixing the Request Failed Error.
Accessing CATAPULT with VS Code
Skip this step if you installed on Windows, Mac or your local Linux machine.
If you set this up on a server the easiest way to access this page is with Visual Studio Code.
Depending on if you're accessing a server online, or a virtual machine, or WSL you can connect to it with the VS remote SSH extension. This will forward the http://localhost:3399 from the server and you can access it as if it were running on your normal machine. If you have never done this before, see this tutorial for more details. https://code.visualstudio.com/docs/remote/ssh
This video outlines the steps for connecting to the CATAPULT server. You will need to:
- Connect to the IP of the server you setup using ssh for example
[email protected] - Enter your password for the server user
- Open the CATAPULT CTS directory
- Open the Terminal in VS Code
- Run the build command
docker compose up --build - Forward the port in VS Code so you can access the localhost of the virtual machine on your host machine
You should now be able to navigate to the http://localhost:3399 on your host machine and create a new user for the CATAPULT CTS.
Not so fast 🏃
Before you head to the pub and call this a job well done, I'm afraid there's more they didn't tell us in the original documentation, and one last thing to fix. It's kind of a big deal.
Fixing the Request Failed Error when uploading a course to CATAPULT CTS
When you upload a course to CATAPULT and then try to initialise a test. You will likely see an error.
Failed to create test: Error: Request failed: An internal server error occurred (500 - Cannot access 'profileCreationRes' before initialization)
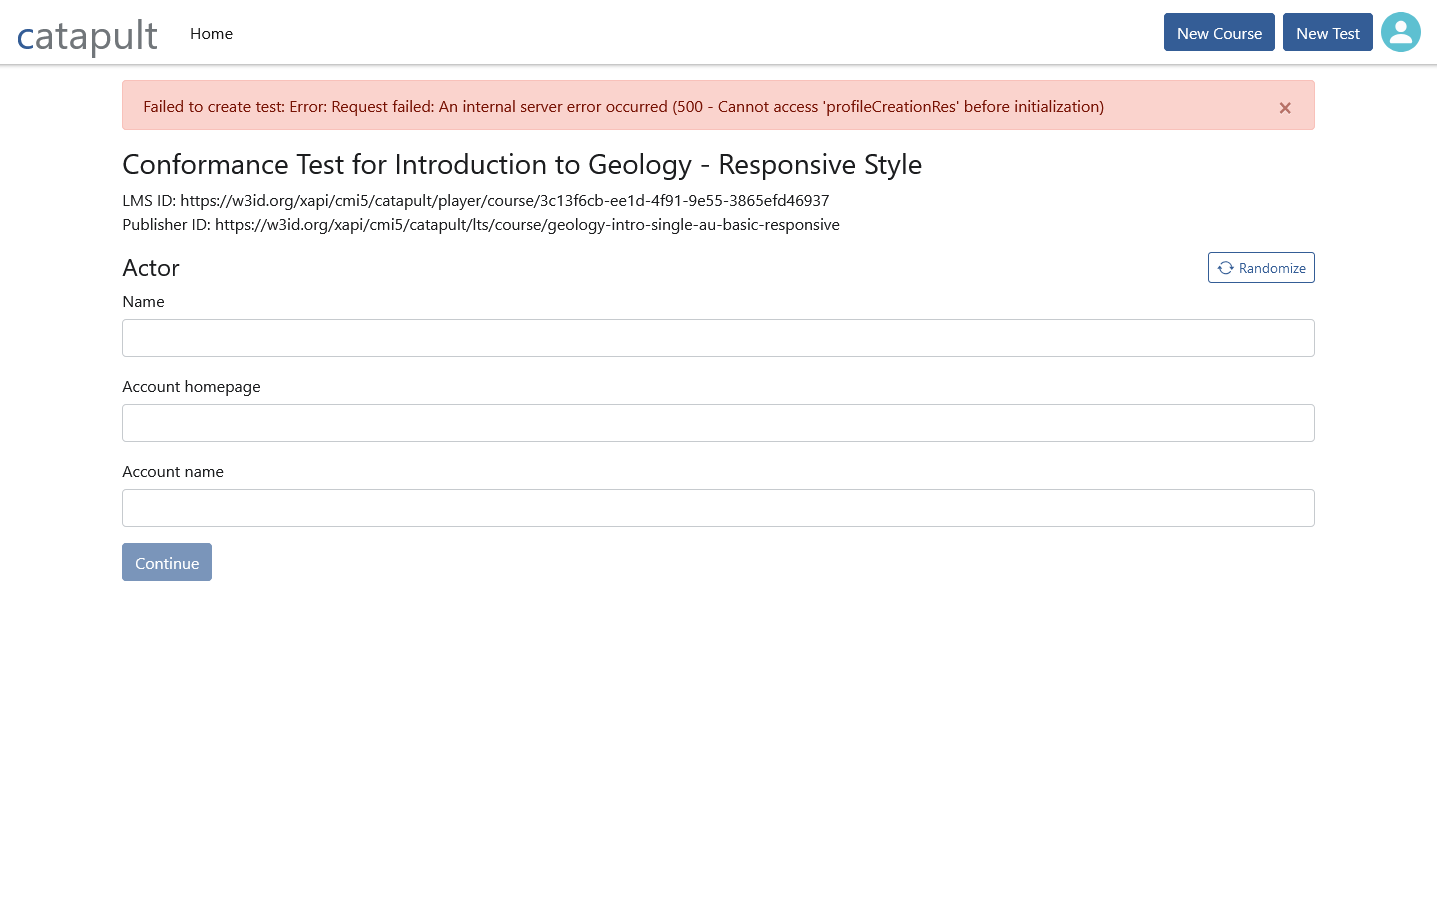
Not a particularly helpful error, but what this translates to is, you need an LRS and the one included in the .env.example is not a real LRS, no LRS is installed as part of this build. This was missed in the documentation.
Setting up the LRS so you can access the Content Test Suite
You can install and connect a local LRS, but to keep things simple, I'd recommend using the SCORM Cloud LRS to start with.
Head over to Scorm Cloud to setup an account. Once you have your account do the following:
- On the Home page, click xAPI LRS on the left menu
- Click the Sample LRS.
- Pick an end point you need this for the LRS_ENDPOINT in the config
- Click on the activity providers tab and then 'add activity provider'
- Make a note of the key (username) and the secret (password)
Now back in the terminal, edit the .env file in the CTS folder. It should now look something like this, with the new LRS endpoint, username and password:
HOSTNAME=localhost

PLAYER_ROOT_PATH=/player

PLAYER_BASE_URL=http://player:3398/player

PLAYER_CONTENT_URL=http://localhost/player/content

# PLAYER_STANDALONE_LAUNCH_URL_BASE=http://localhost/player

PLAYER_KEY=cts

PLAYER_SECRET=player-secret

PLAYER_TOKEN_SECRET=player-token-secret

CTS_SESSION_COOKIE_PASSWORD=replace_with_very-long-string_with-Mu1tip13-Specia!s

LRS_ENDPOINT=https://cloud.scorm.com/lrs/3PCVTexample/sandbox/

LRS_USERNAME=addusernamehere

LRS_PASSWORD=addpasswordhere

LRS_XAPI_VERSION=1.0.3
## Dev Only, set to 0 to allow self-signed certs

NODE_TLS_REJECT_UNAUTHORIZED=1
When you've edited and saved the new .env restart your docker build. You should now be able to upload and test courses! 🥳
Where to go from here
The documentation for how to use CATAPULT is better than the documentation for installing it thankfully! Check that out here.