Building an AI-Powered Knowledge Check in Storyline
This guide is the next step in your journey to integrating AI into Articulate Storyline. Building on the core concepts from the sentiment analysis tutorial, you will now create a more sophisticated tool that can gauge a learner's understanding of a topic.

Previous tutorial:

Demo
Try the demo 👇
Introduction: From Sentiment to Semantics
In the first tutorial, you taught Storyline how to understand the emotion of a text. Now, you'll teach it to understand the meaning. This project moves beyond simple classification to a more advanced AI task: semantic similarity.
The AI model will convert both a source text and the learner's summary into complex numerical representations called "embeddings." It then mathematically calculates how close in meaning these two embeddings are. The result is a powerful, nuanced score that reflects how well the learner retained the key concepts from the material—far more effective than simple keyword matching.
This project uses the exact same development pattern as before, demonstrating how you can swap out AI models to perform entirely new tasks.
1. Storyline Project Setup ⚙️
This project uses a simple two-slide structure.
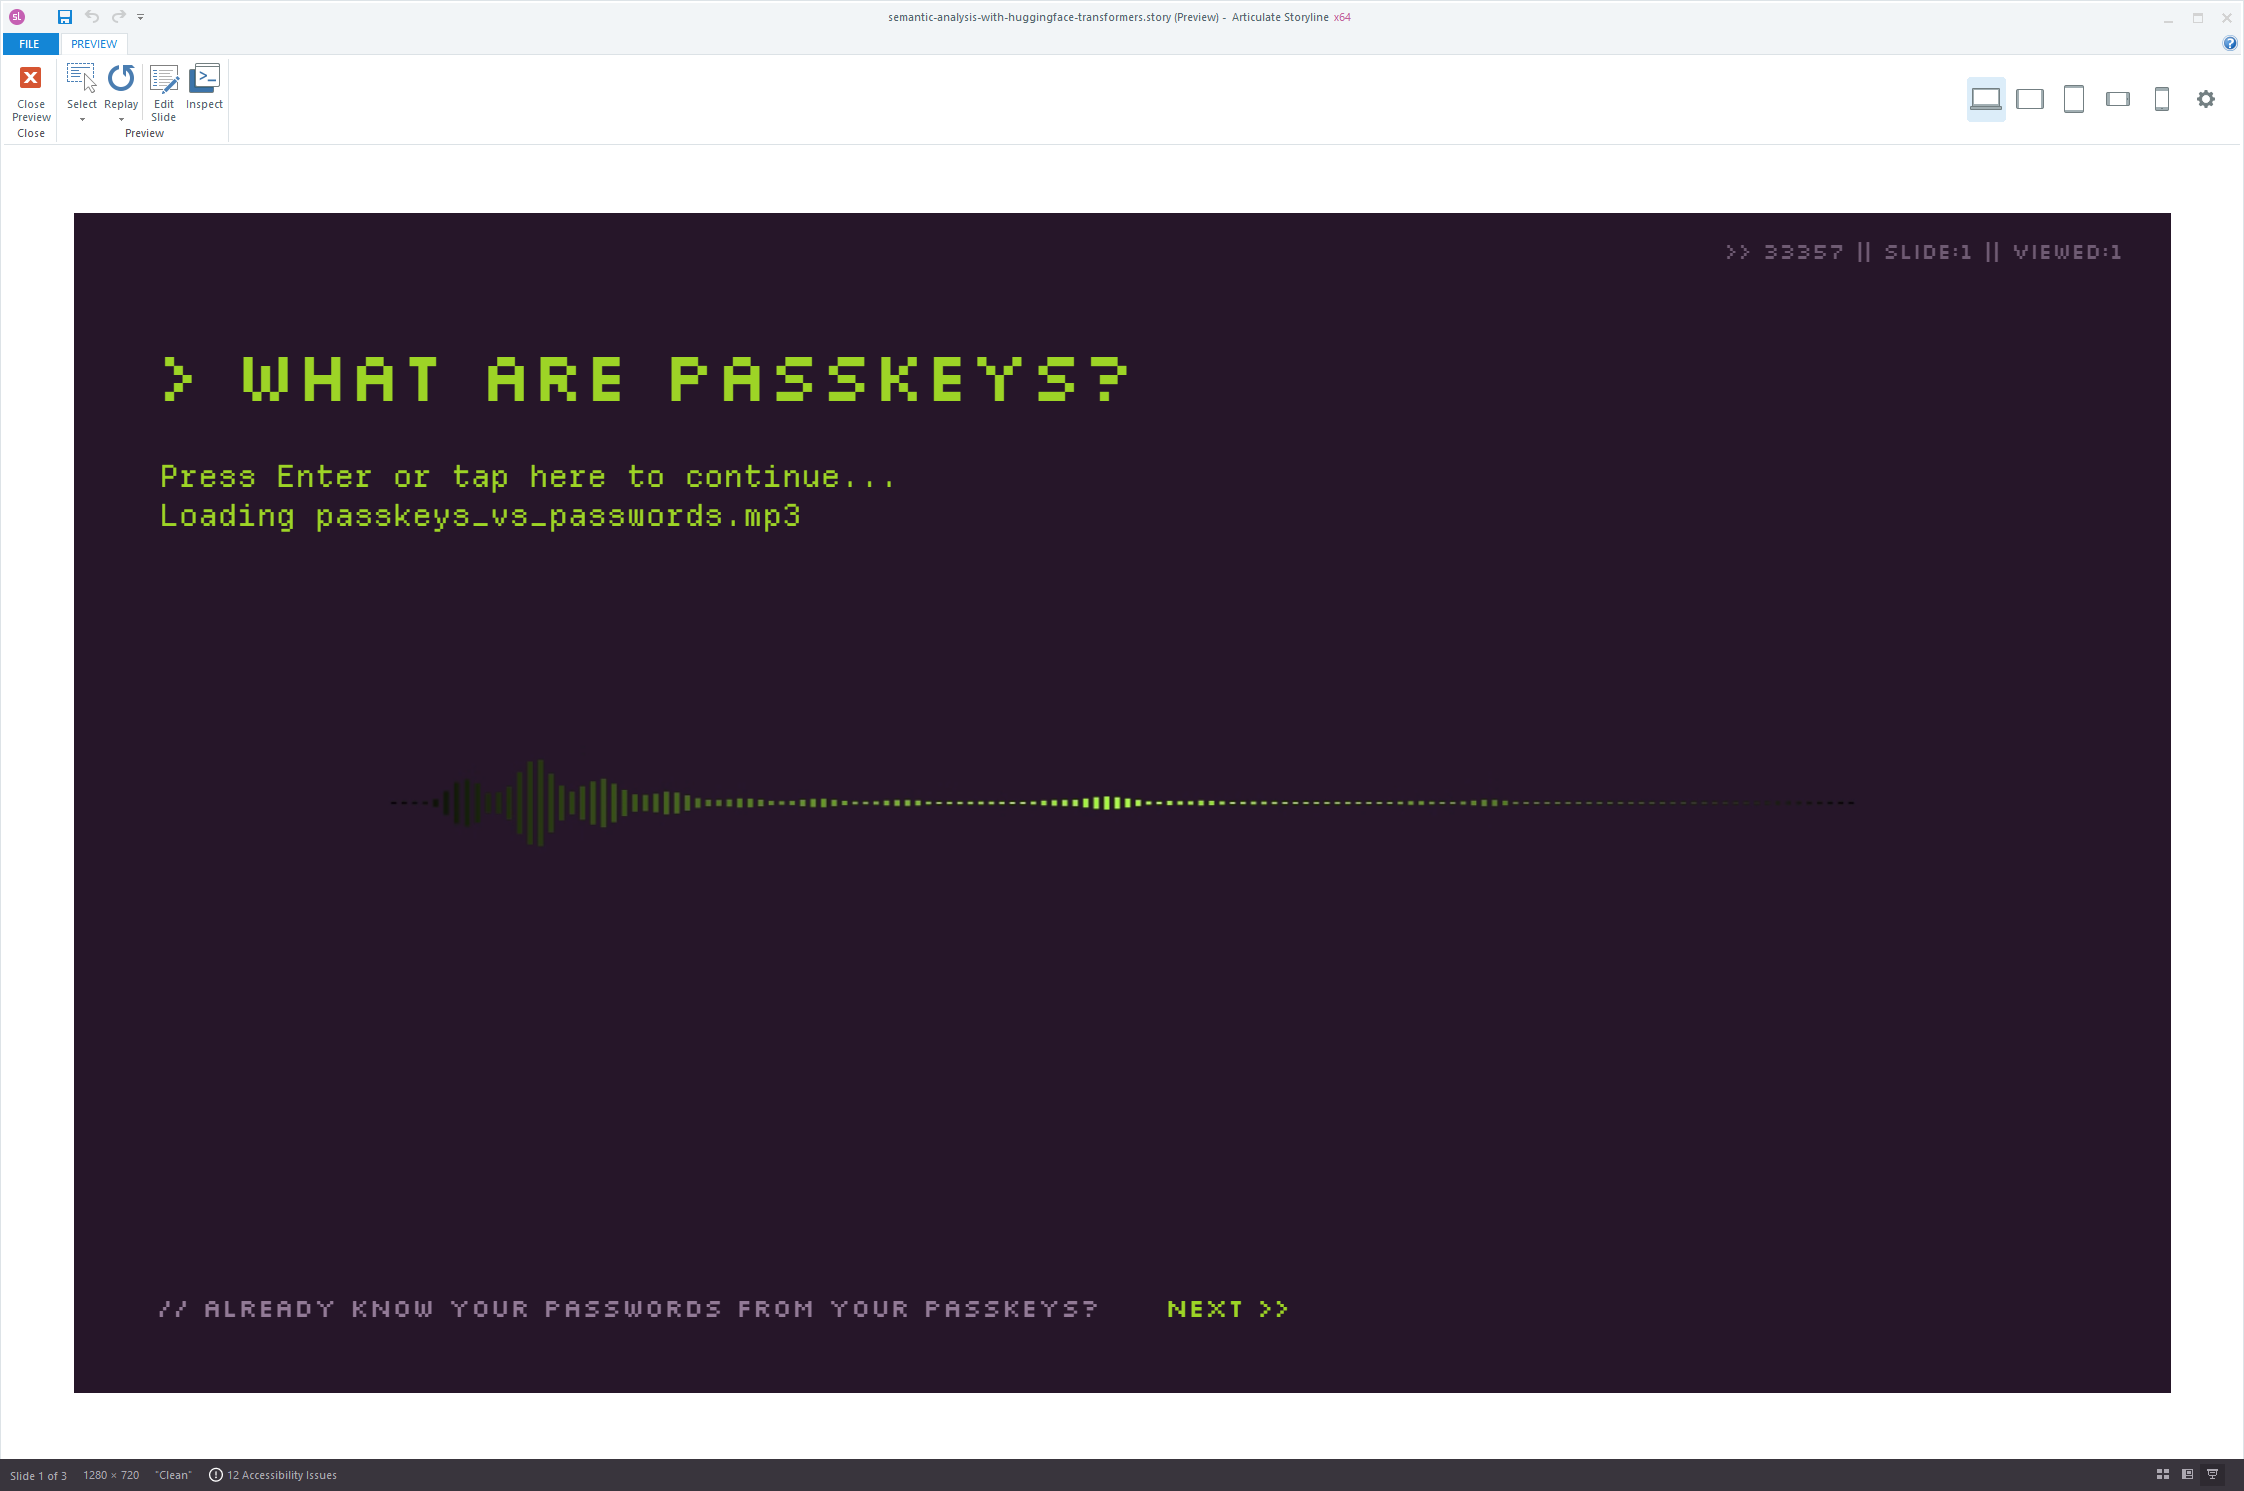
Slide 1: The Information
This slide presents the source material to the learner.
- Add Source Text: Insert a text box and fill it with the information you want the learner to read and understand (e.g., your content about passkeys).
- Create a Variable: Create a new Text Variable named
sourceText. - Populate the Variable: Create a trigger on this slide to ensure the source text is stored correctly, regardless of its length.
- Action: Adjust variable
- Variable:
sourceText - Operator: = Assignment
- Value: Type or paste your full source text into the value field.
- When: Timeline starts
- Object: This slide
- Add a "Continue" button to navigate to the next slide.
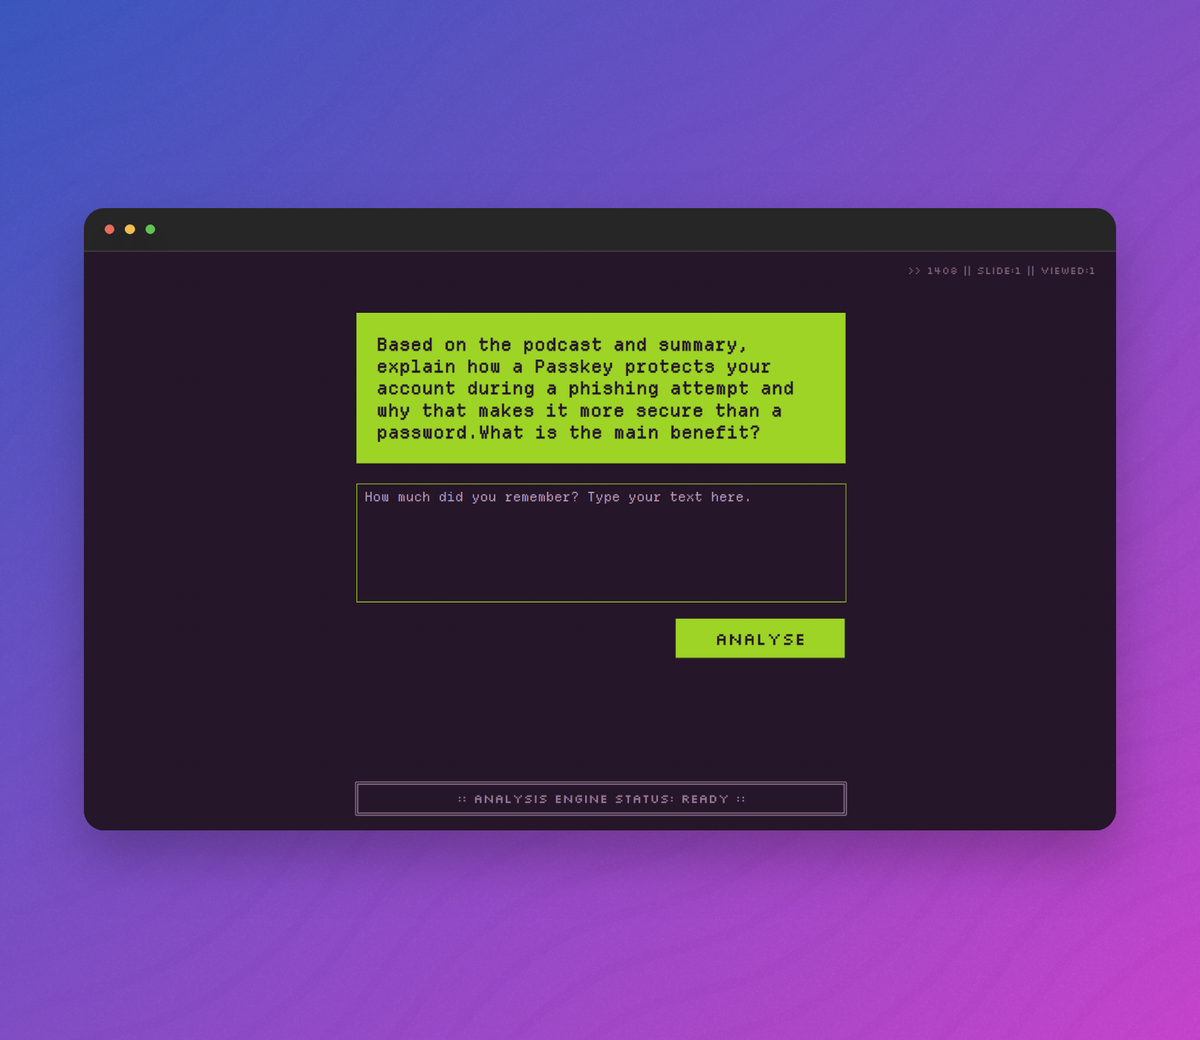
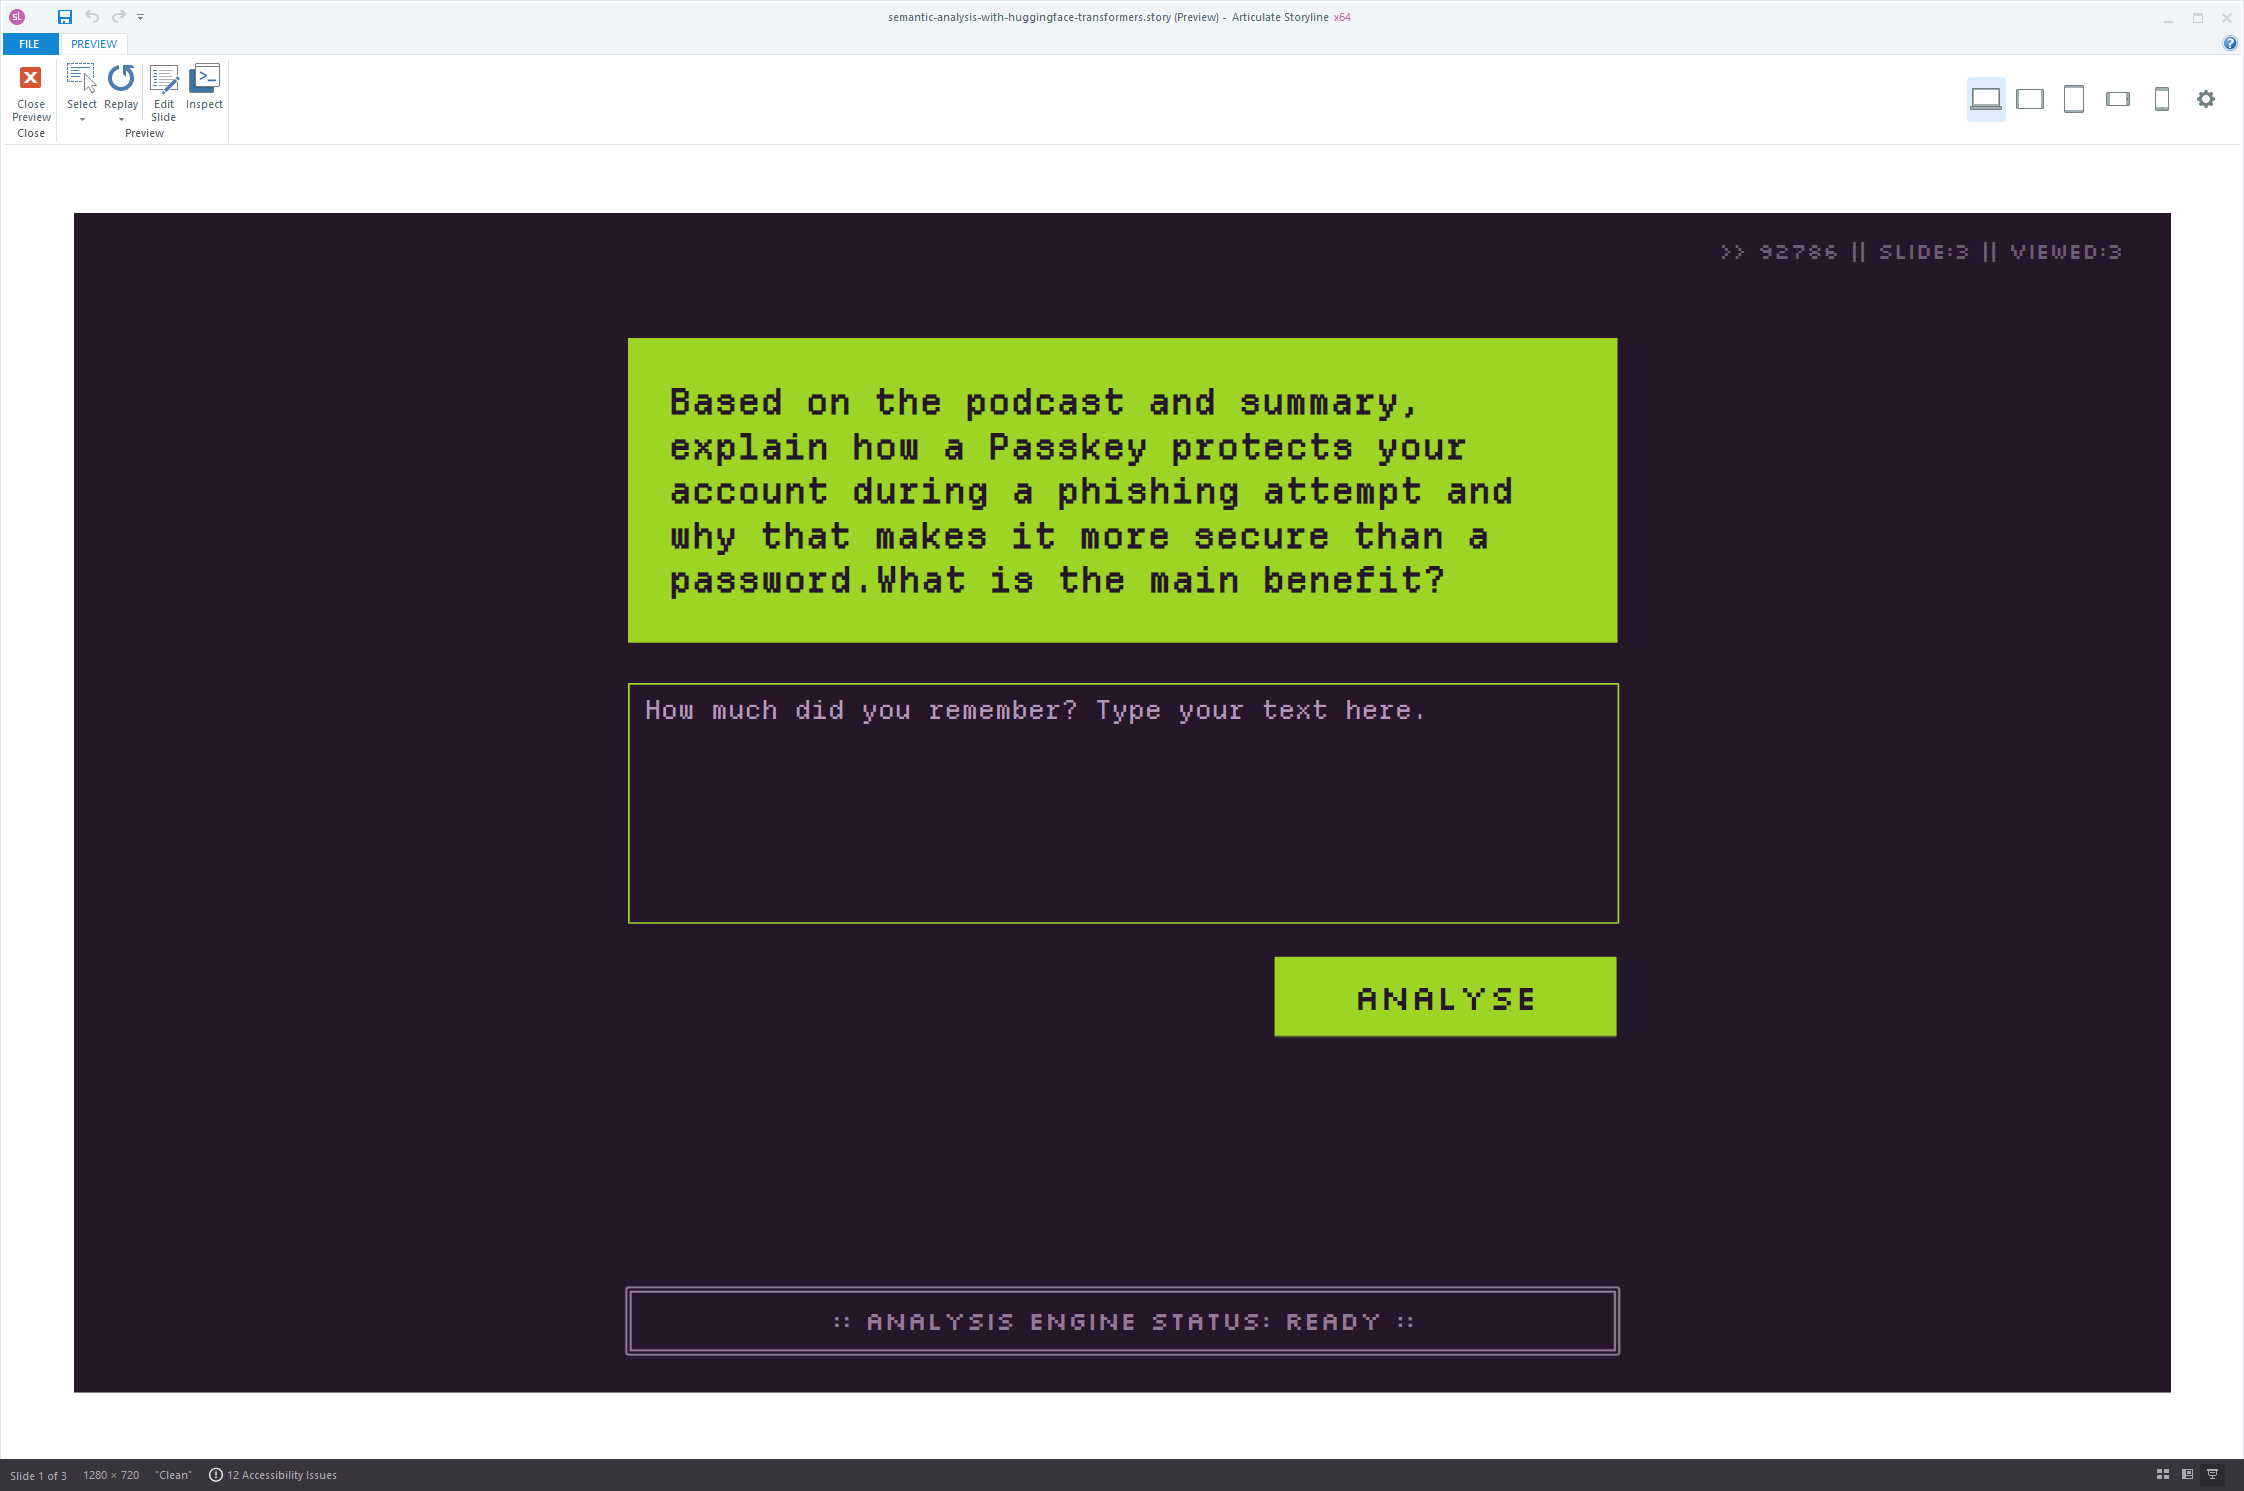
Slide 2: The Knowledge Check
This slide is where the learner submits their summary and the AI performs its analysis.
- Create Variables: Go to the "Variables" panel and create these three Text variables:
learnerText(to hold the learner's summary)analysisStatus(to show the current status)retentionScore(to hold the final similarity score)
- Add a Text Entry Field: Insert a Text Entry field and link it to the
learnerTextvariable. - Add a Button: Insert a button and label it "Check My Understanding".
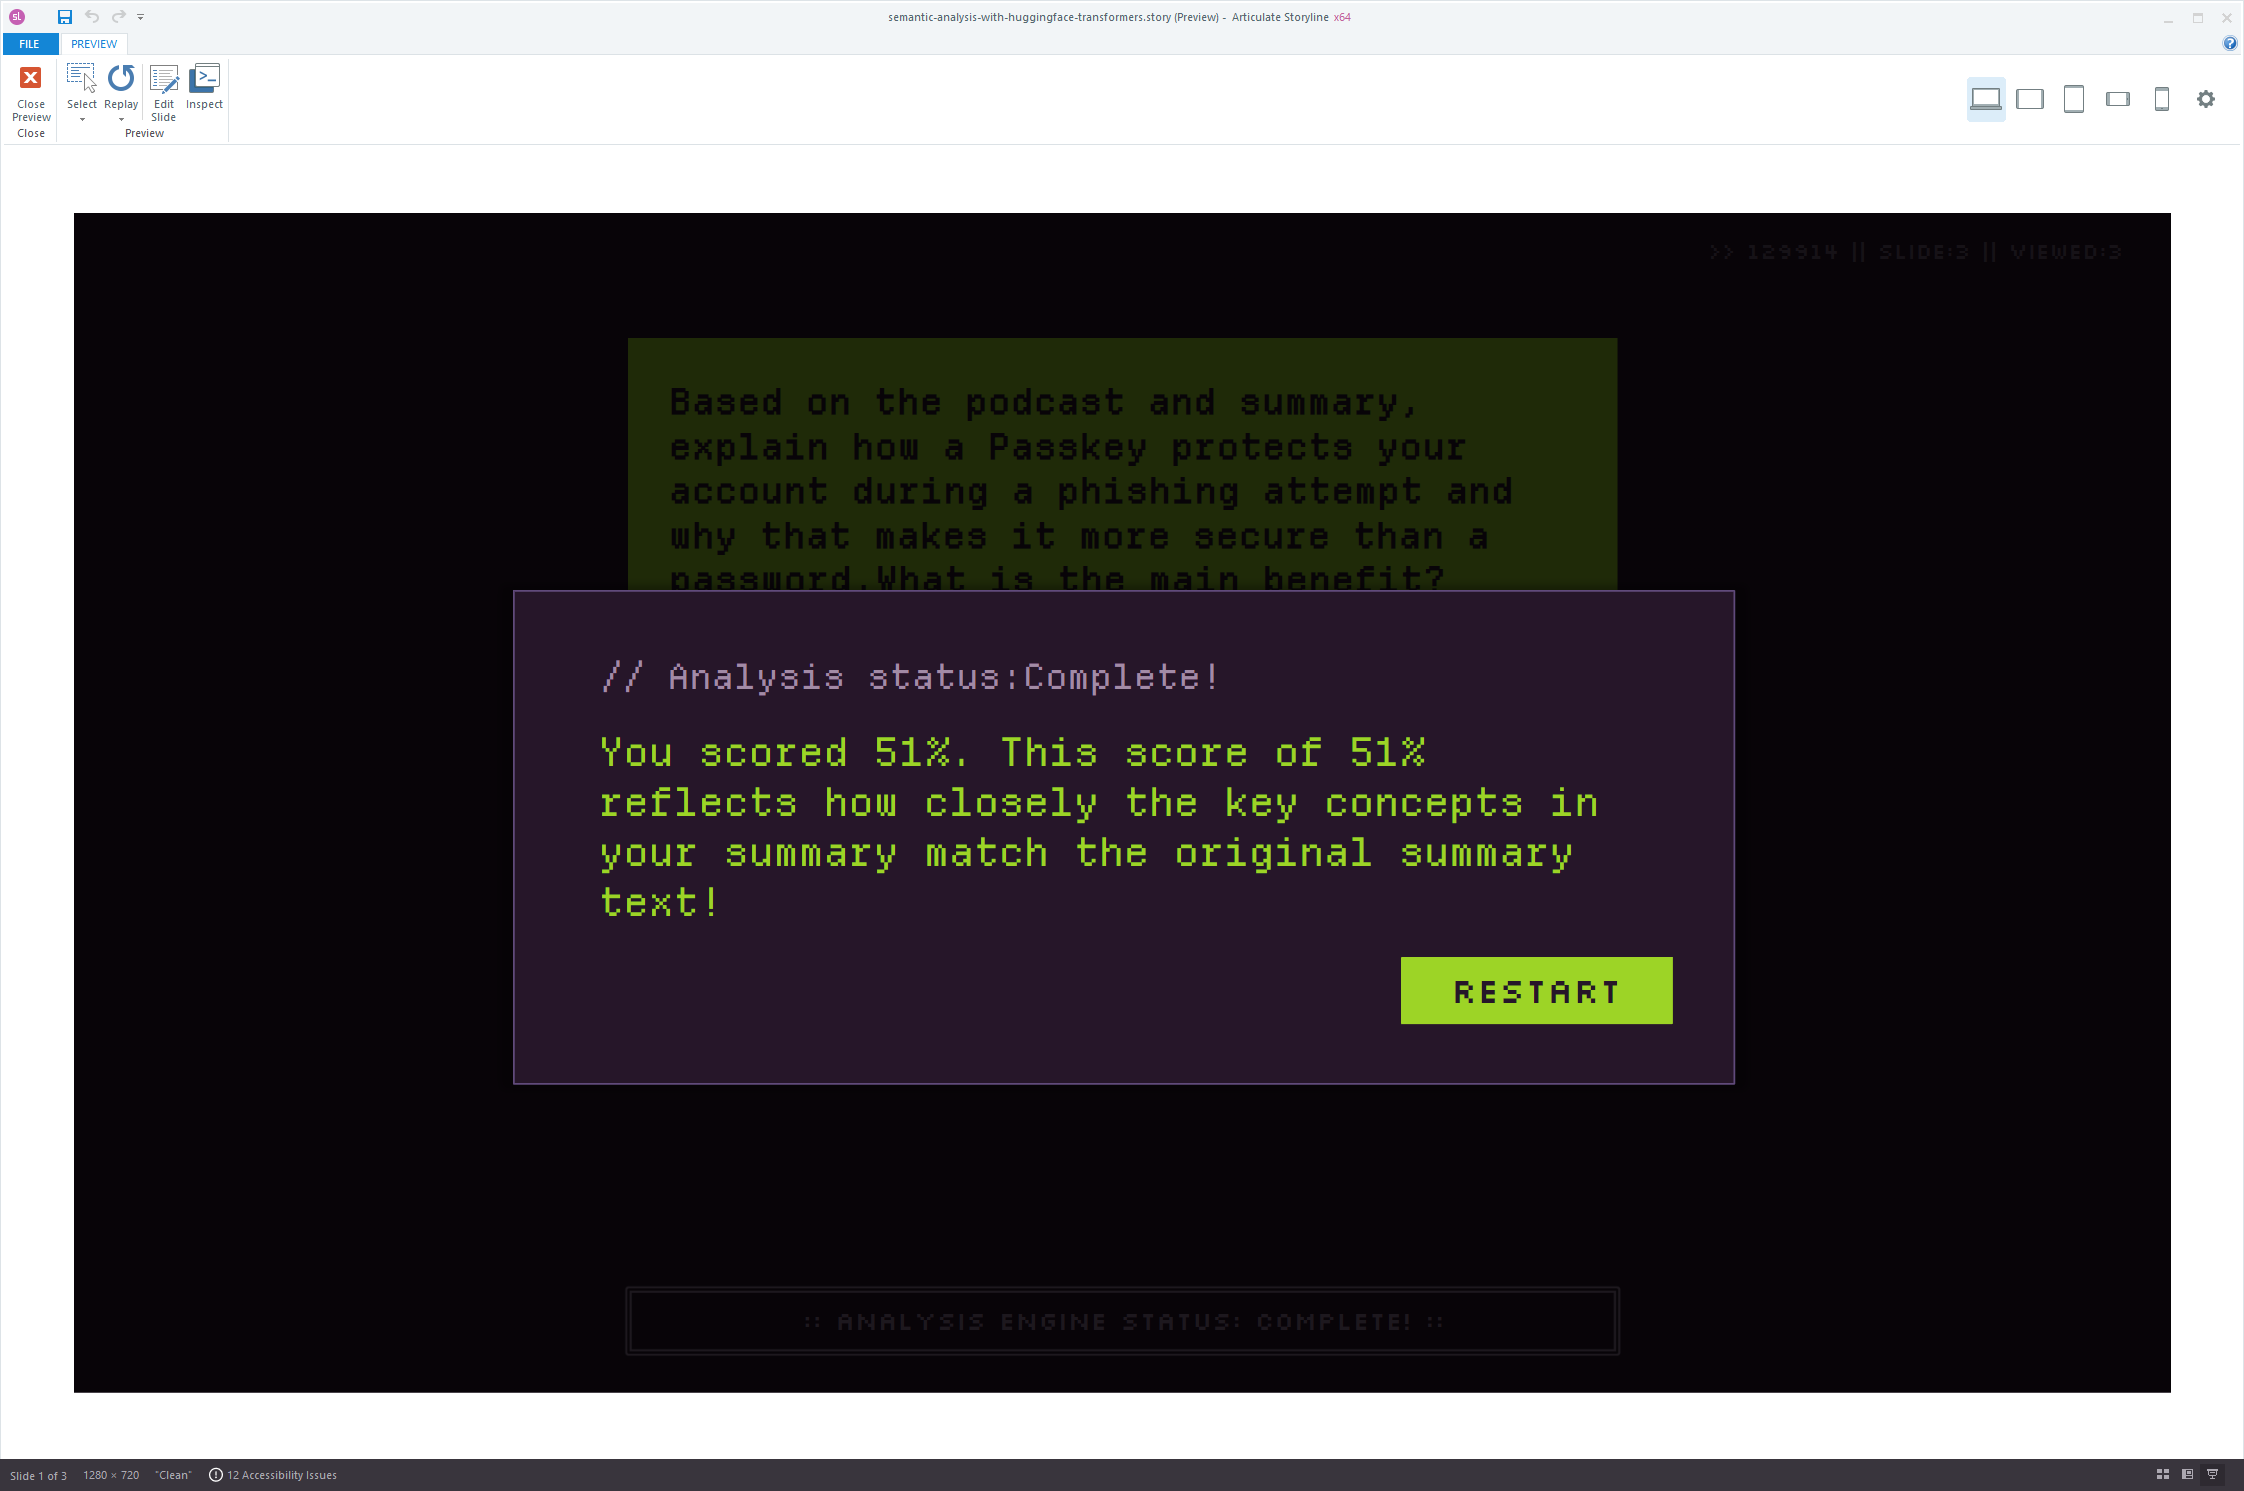
- Display the Results: Insert text boxes to show the status and final score:
- A status box:
Status: %analysisStatus% - A result box:
Understanding Score: %retentionScore%
- A status box:
2. The "Loader" Trigger (On Slide 2) ⏳
This trigger starts downloading the AI library in the background as soon as the learner arrives at the check slide.
- On Slide 2, create a new trigger with the following settings:
- Action: Execute JavaScript
- When: Timeline starts
- Object: This slide
Click the ... button and paste the following code:
// This script starts downloading the library and stores the promise.
const player = GetPlayer();

const setReady = () => player.SetVar("analysisStatus", "Ready");

if (!window.transformersPromise) {
  player.SetVar("analysisStatus", "Initializing...");
  window.transformersPromise = import("https://cdn.jsdelivr.net/npm/@huggingface/[email protected]");
  window.transformersPromise.then(setReady).catch(err => {
    console.error("Library load failed:", err);
    player.SetVar("analysisStatus", "Error: Could not load library.");
  });
} else {
  window.transformersPromise.then(setReady);
}
3. The "Analyzer" Trigger (On the Button) 🚀
This is the core of the project. This trigger runs the analysis, comparing the meaning of the source text to the learner's summary.
- Select the "Check My Understanding" button.
- Create a new trigger with the following settings:
- Action: Execute JavaScript
- When: User clicks
- Object: The "Check My Understanding" button
Click the ... button and paste the following code:
// This script runs when the "Check My Understanding" button is clicked.
const player = GetPlayer();

if (!window.transformersPromise) {
  alert("Error: Analysis library did not start loading.");
  return;
}

(async () => {
  // Get both the source text and the learner's text from Storyline variables
  const source = player.GetVar("sourceText");
  const learnerSummary = player.GetVar("learnerText");

  if (!learnerSummary) {
    alert("Please summarize your understanding in the text box.");
    return;
  }

  try {
    player.SetVar("analysisStatus", "Preparing engine...");
    player.SetVar("retentionScore", ""); // Clear previous results

    // 1. Wait for the library and get the necessary functions.
    const { pipeline, cos_sim } = await window.transformersPromise;

    // 2. Lazily load the embedding model. Note the new task and model name.
    if (!window.embedder) {
      player.SetVar("analysisStatus", "Downloading model...");
      // This model is excellent for semantic similarity. The task is 'feature-extraction'.
      window.embedder = await pipeline('feature-extraction', 'Xenova/all-MiniLM-L6-v2');
    }

    player.SetVar("analysisStatus", "Analyzing...");

    // 3. Generate embeddings for both texts.
    const sourceEmbedding = await window.embedder(source, { pooling: 'mean', normalize: true });
    const learnerEmbedding = await window.embedder(learnerSummary, { pooling: 'mean', normalize: true });

    // 4. Calculate the cosine similarity between the two embeddings.
    const similarity = cos_sim(sourceEmbedding.data, learnerEmbedding.data);

    // 5. Convert the score (0-1) to a percentage and set the final result.
    const percentageScore = (similarity * 100).toFixed(0) + "%";
    player.SetVar("analysisStatus", "Complete!");
    player.SetVar("retentionScore", percentageScore);

  } catch (err) {
    console.error("Analysis Failed:", err);
    player.SetVar("analysisStatus", "Error: Please try again later.");
  }
})();
What You've Achieved
Congratulations! You have successfully built a sophisticated AI tool that moves beyond simple classification and into the realm of genuine comprehension analysis.
You've learned how to:
- Structure a multi-slide interaction that passes data between slides.
- Swap out AI models to perform entirely different tasks (
sentiment-analysisvs.semantic analysis). - Use a new model to generate text embeddings and compare them for semantic similarity.
You now have a powerful, reusable pattern for integrating a wide range of client-side AI capabilities into your Articulate Storyline projects, opening the door to more dynamic, personalized, and effective learning experiences.
Beyond the Basics: Answering Your Questions
You've seen how to build the core tool, but how can we push it further? Here are quick answers to some questions about extending this functionality.
- How can it offer better feedback? Instead of just asking the AI for a score. Could you use a model which helps to identify the key concept the learner missed and provide a one-sentence hint. This transforms your tool from a simple quiz into a dynamic coach that guides the learner.
- How can I test smaller chunks of knowledge? You don't have to test a whole document at once. Break your source material into key paragraphs or learning objectives. In Storyline, you can ask the learner to summarize each small chunk one by one. Running the AI analysis on each individual piece lets you pinpoint exactly which concepts the learner is struggling with, offering much more targeted feedback.
- Can you fine-tune the model? Fine-tuning is an advanced process where you retrain a general AI model on your own specific data (e.g., hundreds of examples of your source texts and ideal summaries). This makes the AI an "expert" in your subject matter, leading to highly accurate and relevant analysis. It's a powerful option for specialized or technical content where precision is critical.