How to download and install Adapt the Authoring Tool [Windows]
This tutorial will walk you step by step through how to install Adapt Authoring Tool on Windows. Everything from installing the prerequisites, through to accessing the tool in the web browser.

![How to download and install Adapt the Authoring Tool [Windows]](/content/images/size/w1200/2023/06/adapt-login-feature-image.png-1.png)
This tutorial is a quick start guide to get you started with the Adapt Authoring tool as quickly as possible. For a more detailed guide see the official documentation here.
Installing the Prerequisites
Often, when we want to install software in Windows, we get a single .exe file we can double click, and it will go through and get the dependencies it needs to run automagically.
Because Adapt Authoring tool is designed to be installed on a server, installing the Adapt Authoring tool on Windows is a bit more manual than simply running an exe file. We're going to need to grab a few dependencies ourselves before installing the tool. Here's a list of what we need:
- Git
- Node.js
- Grunt
- MongoDB
Installing Git
Git is a version control system, all you really need to know for the purpose of this tutorial is that it helps you to keep the Authoring tool up to date.
We're going to use the Terminal to make these changes without needing to navigate to specific webpages and step through installers. (Excluding NodeJS which requires an older package for Adapt).
Open PowerShell or the Windows terminal.
For the sake of speed, we're going to use Winget to install the majority of these packages, it'll save time and help to keep them up to date. This is installed by default in Windows 11, and modern versions of Windows 10. It is available on the Microsoft store here.
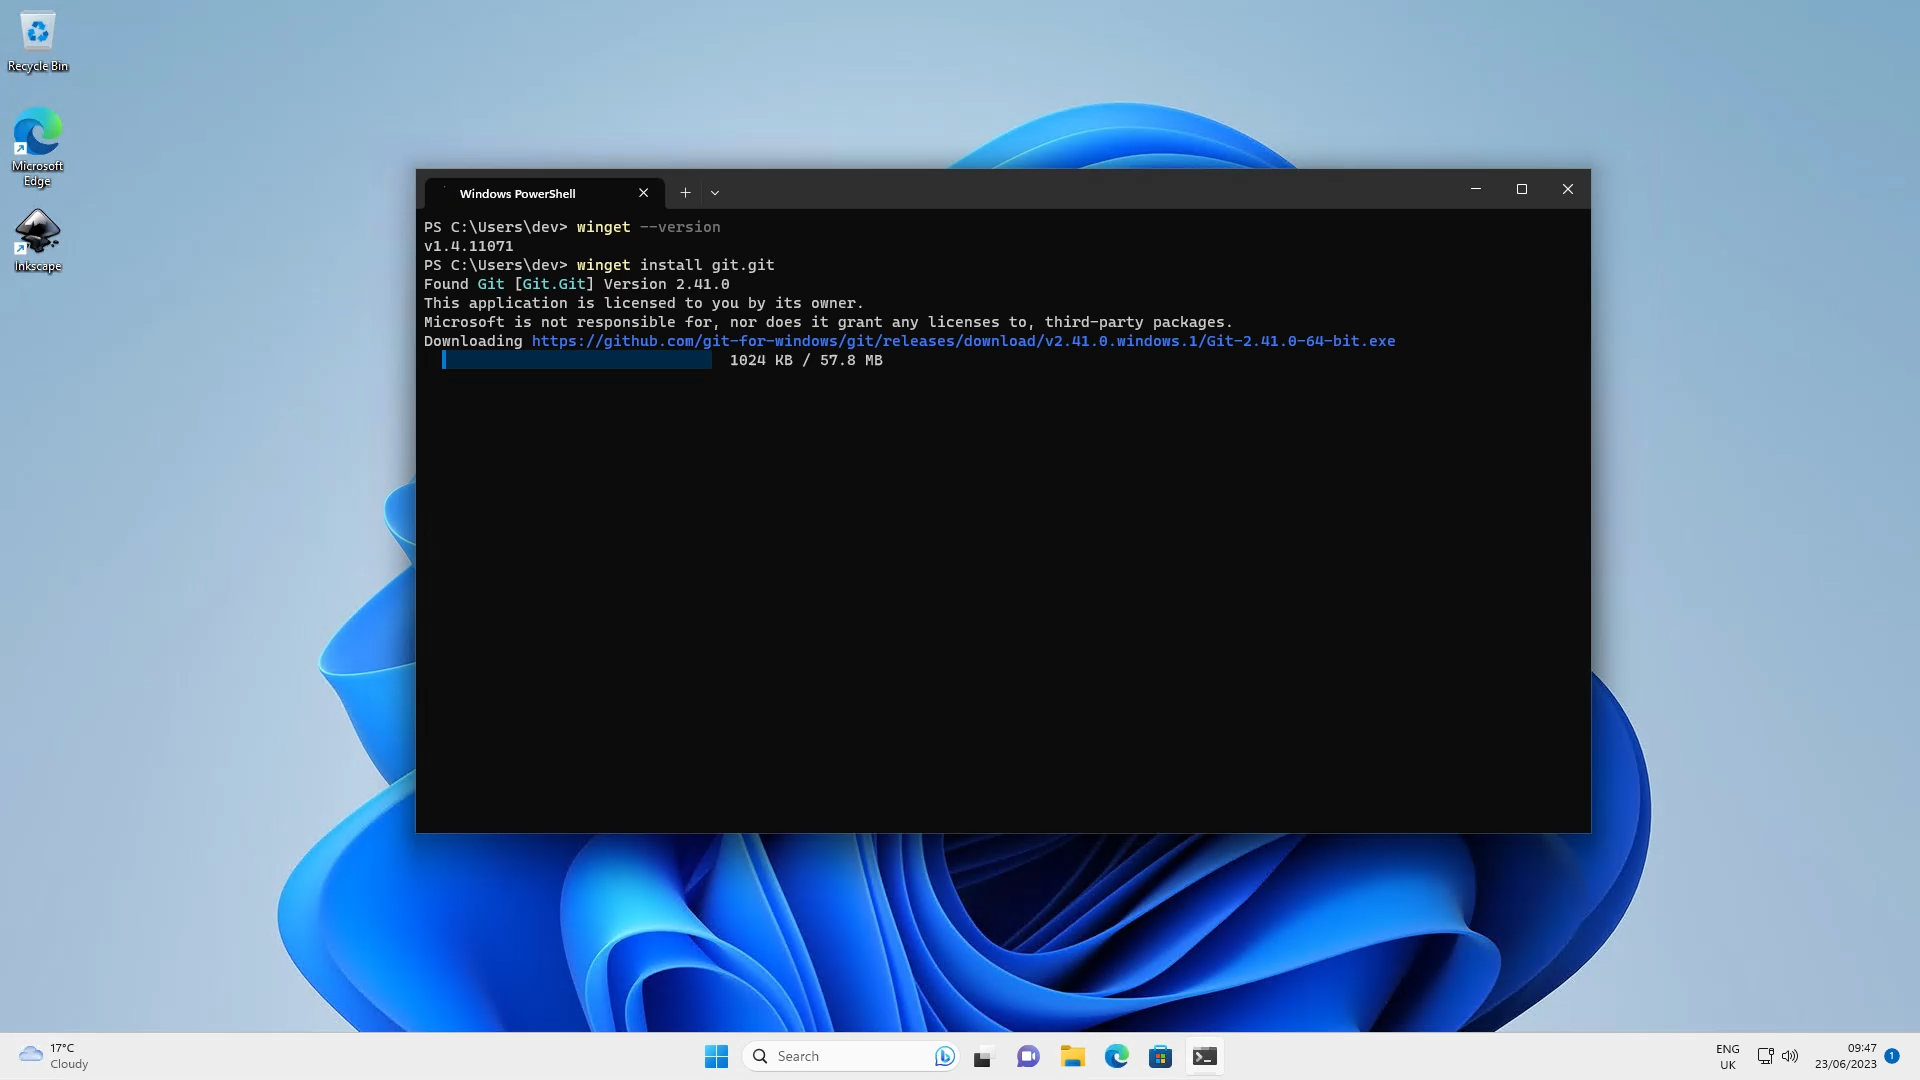
As a bit of a warmup and to check if you have winget, enter the following command into the terminal:
winget --version
If this command returns a version number then winget is installed on your system, if not you can install the App Installer from the Microsoft store to get it.
Now we have winget setup lets get Git installed:
winget install git.git
Installing NodeJS
Think of Node as the engine that drives the Adapt Authoring tool, as well as a way to install additional parts with NPM, which is installed when you install Node.
If you want to try to get Adapt to work with the latest LTS release, which is technically supported according to the official documentation. Install the latest Node.js LTS by running the following commands.
winget install OpenJS.NodeJS.LTS
Open a new terminal and enter the following to confirm Node was correctly installed:
Node --version
Installing Grunt
Grunt is the task runner which handles all the necessary actions required to build the course.
With Node and npm installed we can run the following command to install grunt globally:
npm install -g grunt-cli
Installing MongoDB
MongoDB is the chosen database for the authoring tool. To install MongoDB enter the following command:
winget install MongoDB.Server
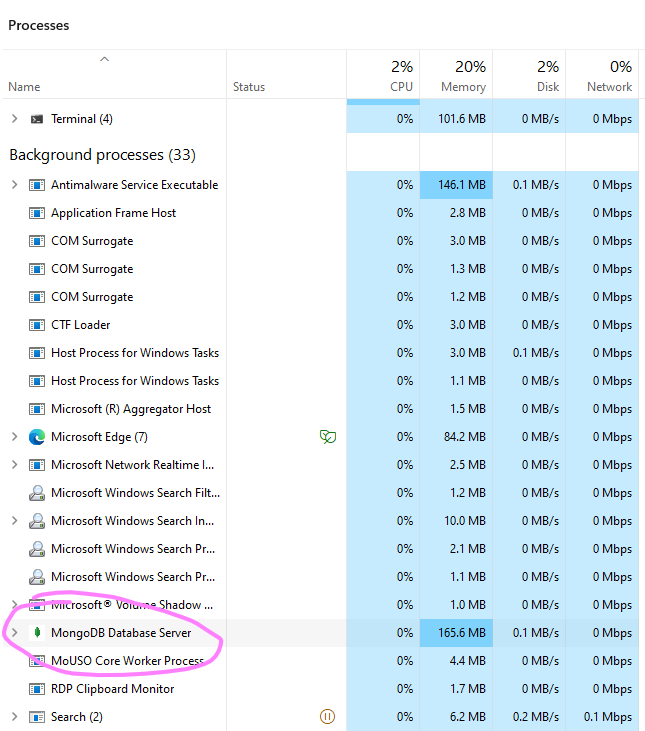
Check that MongoDB is running by opening the Task Manager and looking for the MongoDB service.
Install Adapt Authoring Tool
Getting the Authoring Tool files
We're going to download the files we need to run the Adapt Authoring tool. Create a folder for the Adapt Authoring Tool files.
For simplicity you can run this command to create a folder in your Documents folder on windows.
mkdir "C:\Users\$ENV:UserName\Documents\Adapt_Authoring_Tool"
Change to the newly created folder:
cd "C:\Users\$ENV:UserName\Documents\Adapt_Authoring_Tool"
Clone the files we need from the GitHub repository, into the folder we just created.
git clone "https://github.com/adaptlearning/adapt_authoring.git"
Change into the directory we just created:
cd "C:\Users\$ENV:UserName\Documents\Adapt_Authoring_Tool\adapt_authoring"
Install the required Node packages for the Adapt framework.
npm install --production
Fix any non-breaking critical vulnerabilities.
npm audit fix
Now it's time to run the Install script! 😎
node install
Here are the settings I entered:
Server Port: 5000
Server Name: 127.0.0.1
Data directory path: data
Git repository to be used for the authoring tool source code: https://github.com/adaptlearning/adapt_authoring.git
Git repository to be used for the framework source code: https://github.com/adaptlearning/adapt_framework.git
Specific git revision )
Master database name: adapt-tenant-master
Will you be using a full database connection URI?: N
Database Host: 127.0.0.1
Database server port: 27017
Database server user : *default*
You will then need to create an email address and password for the super admin. This will be used to login to the Authoring tool.
Starting the Adapt Authoring Tool
That's it, you're ready to start creating some awesome, responsive digital learning. To start the tool, open a new Terminal window and type the following:
cd "C:\Users\$ENV:UserName\Documents\Adapt_Authoring_Tool\adapt_authoring"
The command above will move you to the directory we just created. Then type the following:
node server
This will start the Authoring tool in the background, now all you need to do is go to your web browser and type the following in the URL bar:
http://localhost:5000
And that's it, you're ready to start using Adapt Authoring tool!
🥳
Troubleshooting and more
Remember, this is just a quick start guide, for troubleshooting and a more detailed guide, checkout the official documentation here.